Screenshot History · ⇧⌘H
Find a recent capture again.
Browse recent screenshots, preview one, then copy it, drag it into another app or reopen it in the editor.
Screenshot
Capture an area, window, full screen or scrolling page. Then annotate, blur private details, copy, save or pin the result.
Free version available · Requires macOS 15.2+


Capture modes
Open the Screenshot menu from the menu bar or use a shortcut. Capture modes come first; actions like Open Annotate and Screenshot History sit below them.
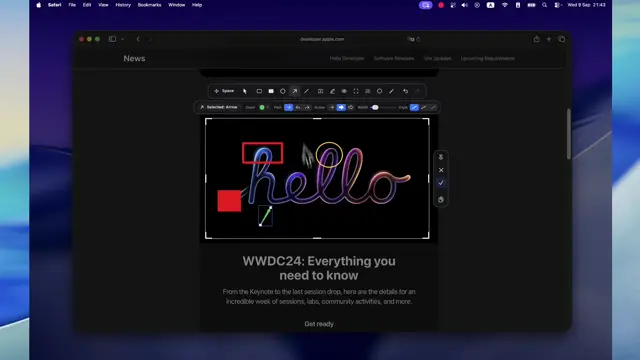
Open a capture in the editor to mark up what matters, hide what doesn’t, and crop to the part you need.
Quick Access
A small card appears with your capture so you can act on it without hunting for the file.
Scrolling Capture · ⌥⇧⌘6
Scroll through a long webpage, document or chat and DeskUtils joins it into one tall image.
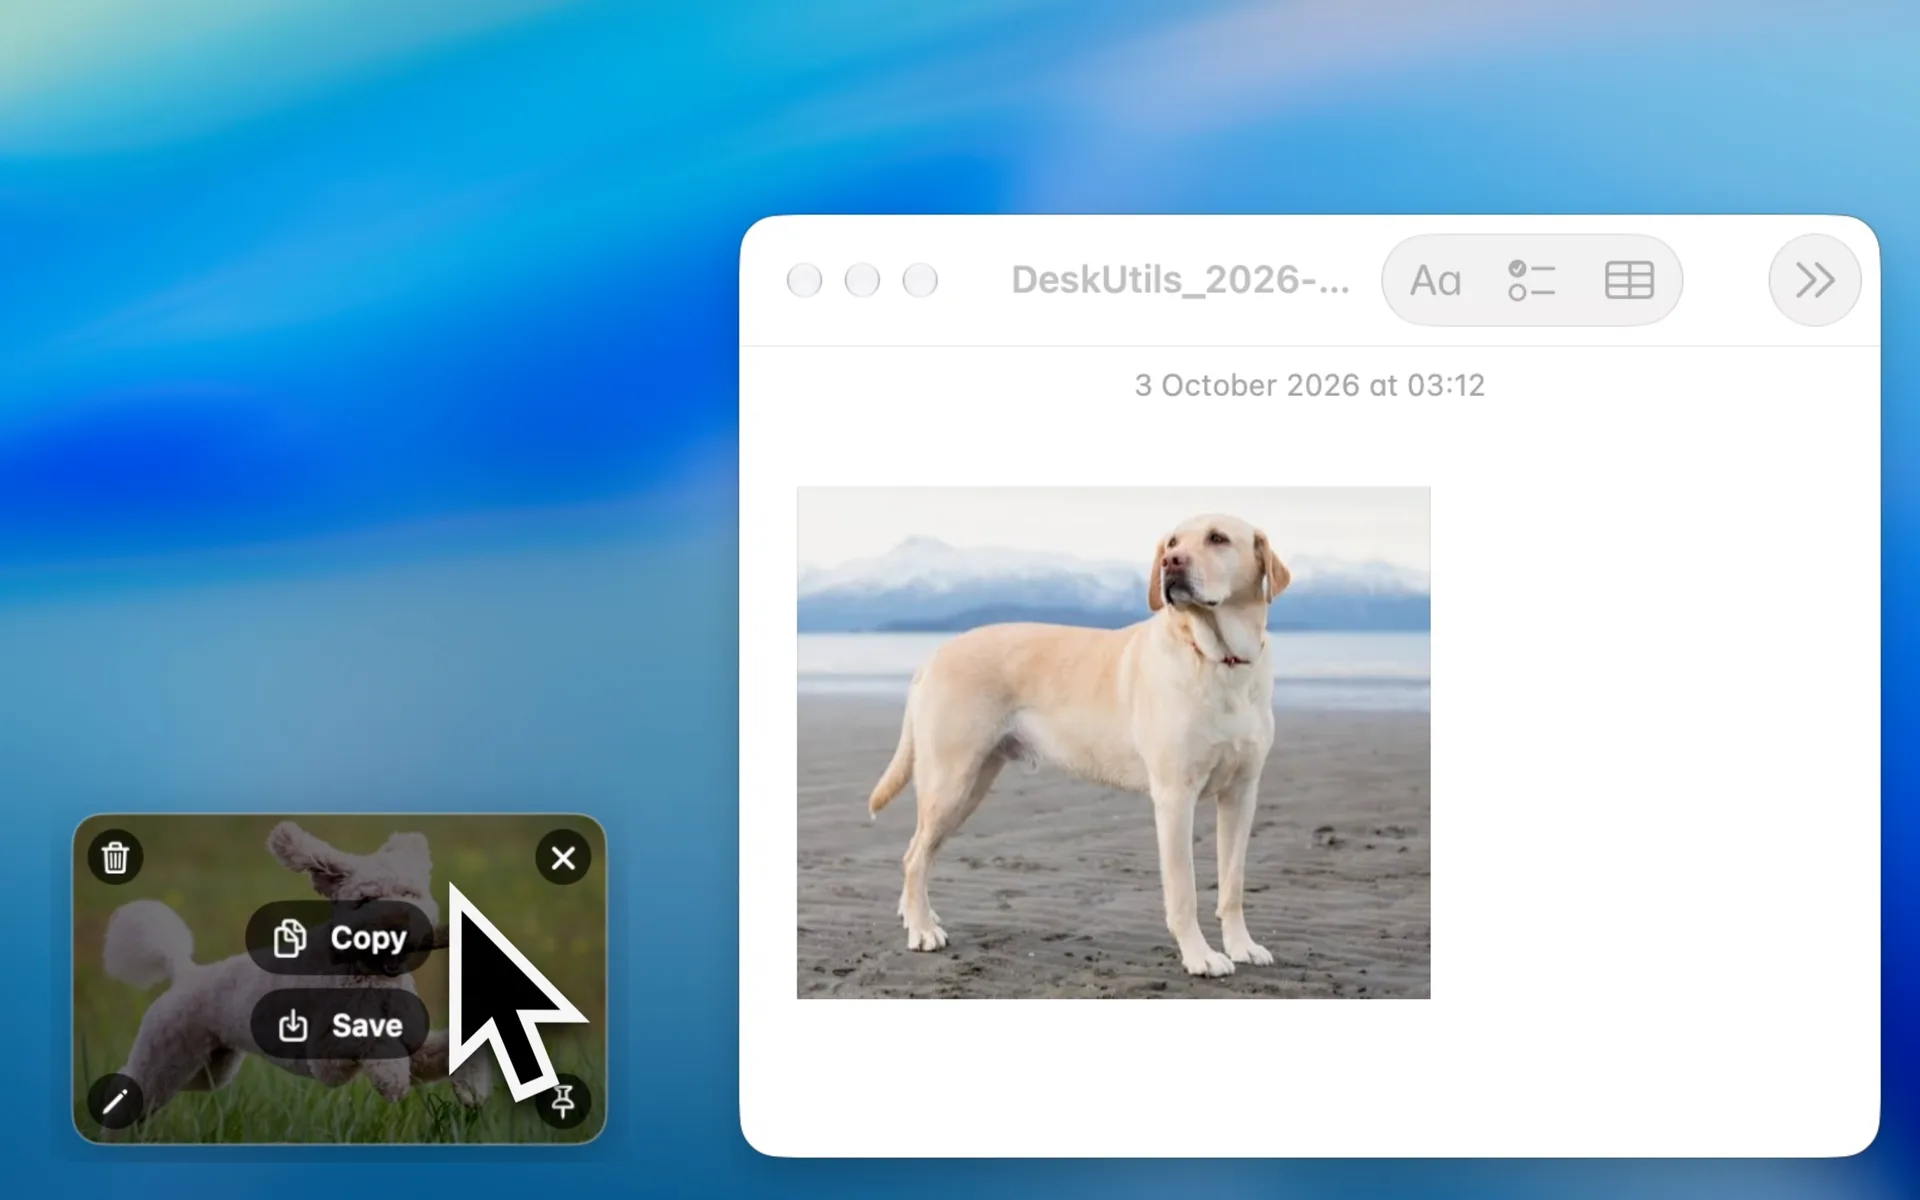
Screenshot History · ⇧⌘H
Browse recent screenshots, preview one, then copy it, drag it into another app or reopen it in the editor.
Pin to screen
Pin a screenshot so it floats above other apps while you type, design or compare.
Privacy and permissions
Screenshots are processed on your Mac. DeskUtils requests access only when a feature needs it.
For screenshots, screen text recognition and sampling on-screen colors.
For keyboard cleaning, direct paste and supported capture interactions.
Used for update checks and, when Pro is available, license activation and validation. Clipboard content is not included.
Capture Area, Capture Previous Area, Capture Active Window, Capture Fullscreen, Scrolling Capture, Capture Subject, Capture Smart Element and Quick Annotate. Capture Text (OCR) is in the same menu.
No. Screenshots are processed on your Mac, and DeskUtils has no cloud upload or shareable links.
macOS requires Screen Recording before any app can capture the screen. DeskUtils uses it for screenshots, screen text recognition and sampling on-screen colors.
Yes. Use Scrolling Capture (⌥⇧⌘6) to join a long page, document or chat into one image.
Open Screenshot History with ⇧⌘H, find the capture, then copy it, drag it or reopen it in the editor.

Requires macOS 15.2 or later